 Getting Started
HyperBilling is an advanced VoIP Billing Solution. It supports pre-paid and post-paid billing with call rating and credit control. It also provides many other features such as loss call protection, least cost routing (LCR), DID management, resellers management, invoice management, payment gateway and much more.
By following given steps you are able to make your first call.
Add Gateway
Click the “Switch Management” button, then click “Gateway” button then click “Add Gateway”
Enter the gateway name, IP address, set true in From User field. If your gateway doesn’t accept IP authentication then you must provide user name and password and set true in Register field then click submit.

Add Customer Tariff
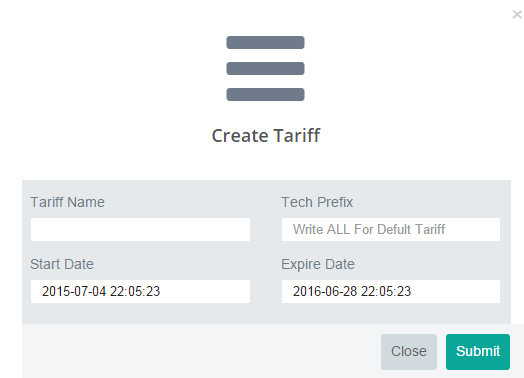
Click the “Rate Management” button, then click “Customer Tariff” button then click “Add Tariff”
Enter tariff name, tech prefix number if you want to assign that tariff as a default tariff write “ALL” in tech prefix field then click submit.
Add Customer Tariff Group
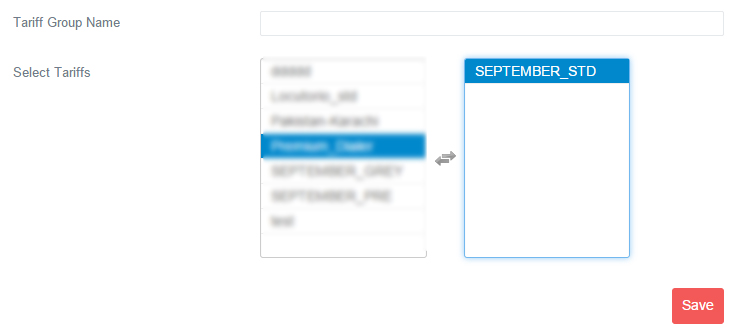
Click the “Rate Management” button, then click “ Customer Tariff Group” button then click “Add Tariff Group”
Enter tariff group name and select the tariffs which you want to add in tariff group then click save.
Add Vendor Tariff
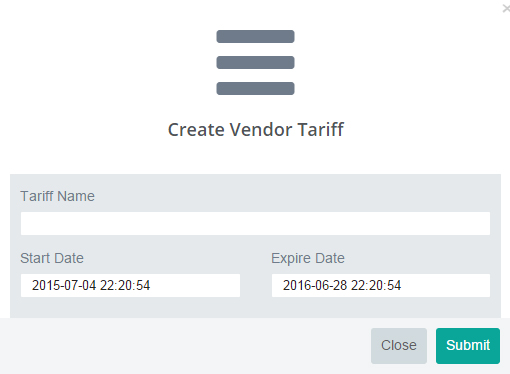
Click the “Rate Management” button, then click “Vendor Tariff” button then click “Add Vendor Tariff”
Enter the tariff name then click submit.
Add Routing Group
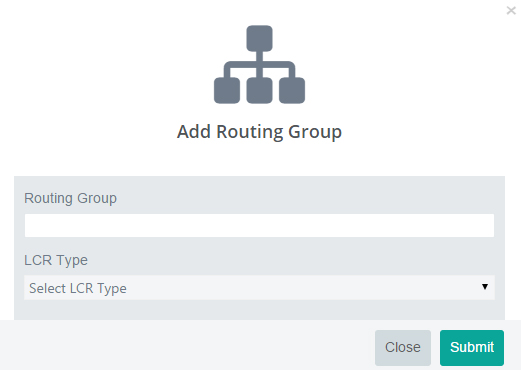
Click the “Switch & Routing” button, then click “Routing Group” button then click “Add Routing Group”
Enter routing group name, select LCR type then click submit.
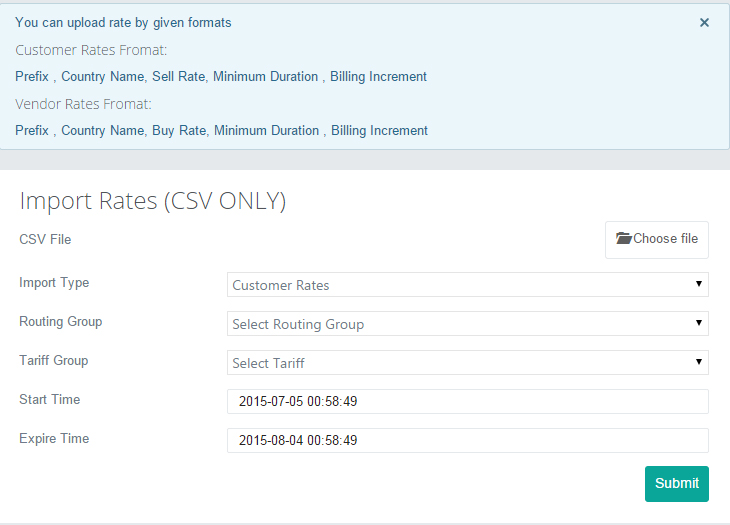
Import Customer Rates
Click the “Rate Management” button, then click “Import Rates”
Upload user rate file in given format.
(Prefix , Country Name, Sell Rate, Minimum Duration , Billing Increment)
Select Customer rates in import type option.
Select Routing Group in routing group option.
Select Tariff in tariff group option.
Enter start & expiry date of customer rates.
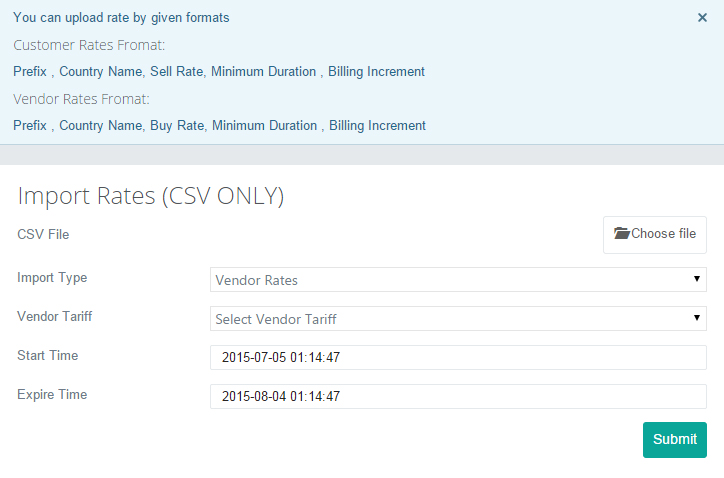
Import Vendor Rates
Click the “Rate Management” button, then click “Import Rates”
Upload vendor rate file in given format.
(Prefix , Country Name, Buy Rate, Minimum Duration , Billing Increment)
Select vendor rates in import type option.
Select vendor tariff in vendor tariff option.
Enter start & expiry date of vendor rates.
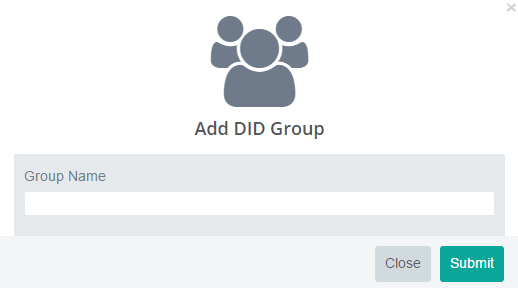
Add DID Group
Click the “DID Management” button, then click “DID Group” button then click “Add Group”
Enter the DID group name then click submit.
Link Gateway
Click the “Switch & Routing” button, then click “Routing Group” button then click “Add Gateway”
Enter prefix if your provider accepts a prefix for different quality rates.
Enter Remove Prefix if you want to cut number from the beginning.
Enter Timeout number in seconds for how long this gateway will timeout.
Select Gateway which you want to link with routing group.
Select Vendor tariff which you want to link with routing group then click submit.
NOTE: You can repeat above steps if you want to link multiple vendor in routing group or you can link multiple gateway for fail-over purpose.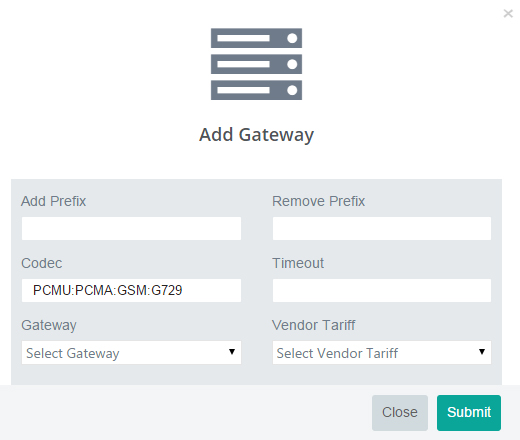
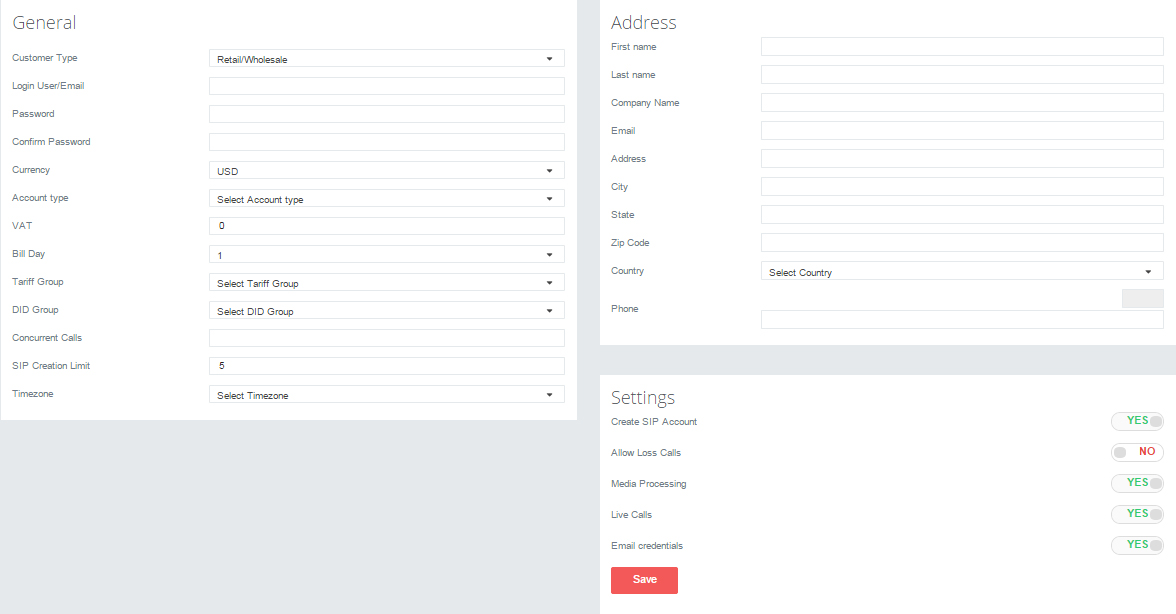
Add New Customer
Click the “User Management” button, then click “New Customer”
Select Retail/Wholesale in customer type option.
Enter login username in Login User/Email field.
Enter Password.
Select Account type in Account type option.
Select Tariff Group in Tariff Group option.
Select DID Group in DID Group option.
Enter Concurrent Calls limit in Concurrent Calls field.
Enter SIP Creation Limit for how many SIP device that user can create.
Select Time zone and enter valid email address in email address field.
Set Yes if you want to generate default SIP Account for this user in Settings option then click save.
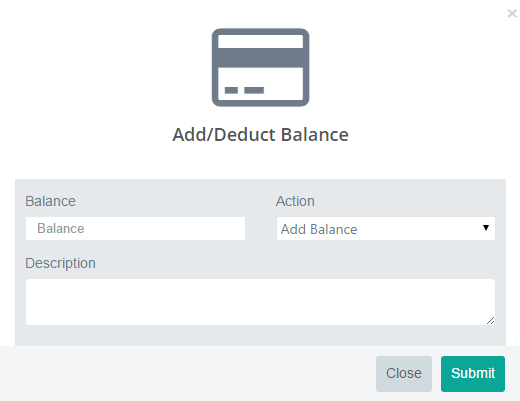
Add Balance
Click the “User Management” button, then click “Customers”
Click to Dollar icon to add balance in newly created customer, then enter the amount and click submit.
Configure SIP Device
Logout from Admin Panel and Login to Customer Panel by using username and password which you have just saved while adding new customer.
Click the “SIP Accounts” button
To obtain switch IP address click to Dashboard button and see the Top Right slider.
Get your SIP Credentials ( User name & Password ) Register your device and start making calls.

If you fail to make call after following above steps dial *11 to check your connectivity with the switch and share your SIP error codes with noc at hyperlling dot com
DID Routing
In this section we will cover DID Routing in HyperBilling Switch.
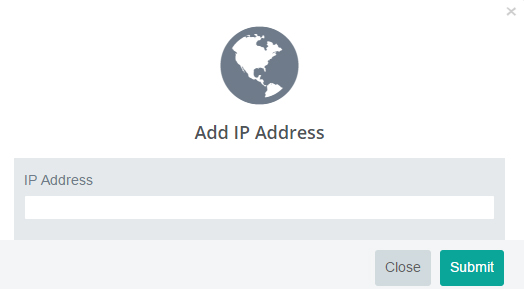
First you need to add DID provider IP Address in switch.
Click the “Switch & Routing” button, then click “Gateway” button then click “Add IP Address”
Enter the IP Address of your DID Provider.
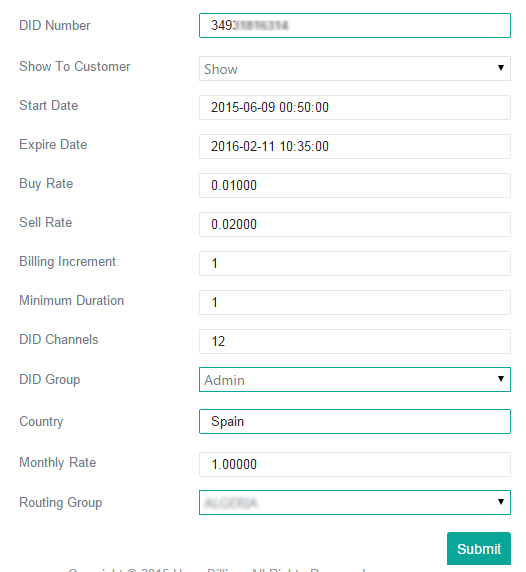
Click the “DID Management” button, then click “Add DID”
Enter the DID number and DID buy and selling rates then click submit.
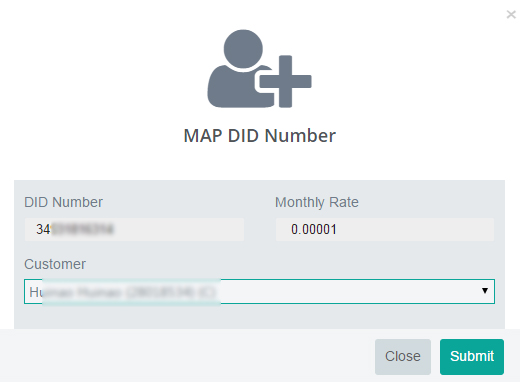
Click the “DID Management” button, then click “DID Number”
Click the assign icon in right option to assign DID to customer or user can add DID
numbers to their account themselves but make sure user also belongs to the same DID group which you selected while adding DID number.
Login to the user panel.
Click the “DID Routing” button, then click “Inbound Route” then click “Add Route”
Select the DID number in DID Number option and fill the required fields, you also can add multiple routes for same DID number and change the route priority by dragging and dropping on the Inbound Route page.


Call your DID number and your SIP Device should ring, email noc at hyperbiling dot com if you are not able to receive a call.